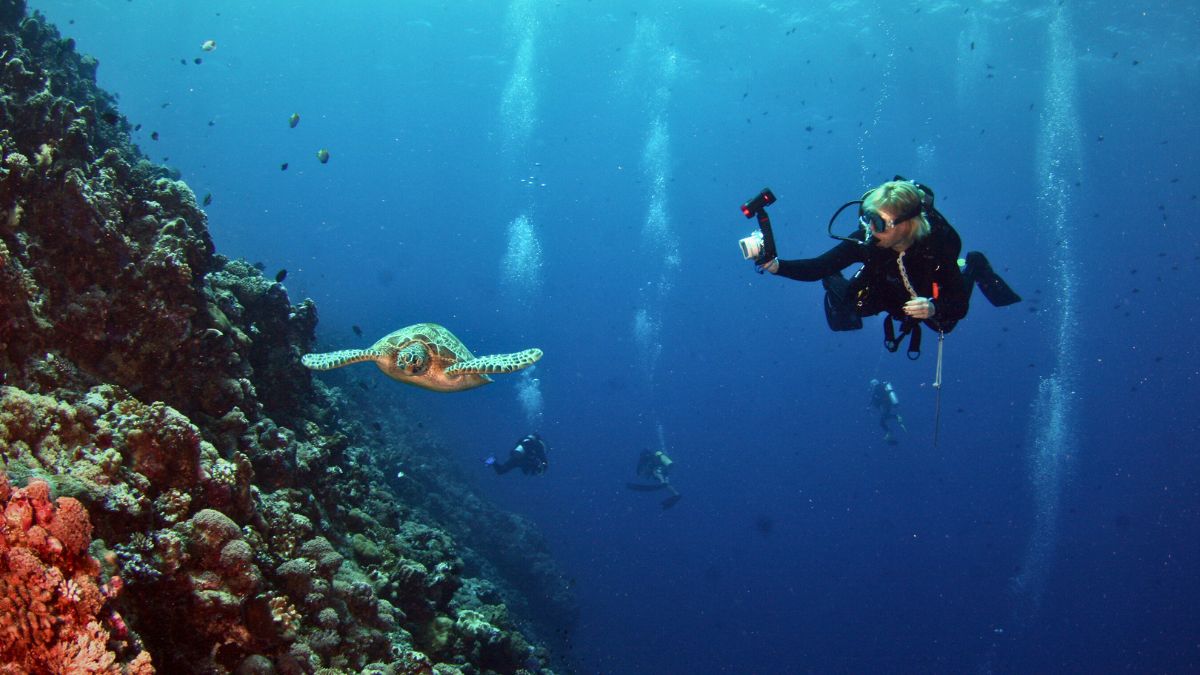
Picture this: you’ve been counting down the days to your diving trip. Your gear is packed, your excitement is building, and you can already imagine that first breath underwater, surrounded by vibrant marine life.
The difference between an amazing dive and a frustrating one often comes down to preparation before you even get wet. I’ve been running dive trips in Costa Rica for years, and I’ve seen divers who forgot essential gear, showed up exhausted or unprepared for conditions, and unfortunately had to sit out their dream dive because they skipped basic preparation steps.
The good news? Proper scuba diving preparation is straightforward when you know what to focus on.
This guide covers everything you need to prepare for a safe, enjoyable dive. Whether you’re planning your first dive in months or you’re a regular underwater explorer, these steps will help you maximize your bottom time and minimize stress.
Essential Pre-Dive Preparation Checklist
Before we dive into the details, here’s your quick reference guide. A well-prepared diver checks off these key areas:
- Verify your certification level matches the dive site
- Create a detailed dive plan with your buddy
- Select a compatible and reliable dive partner
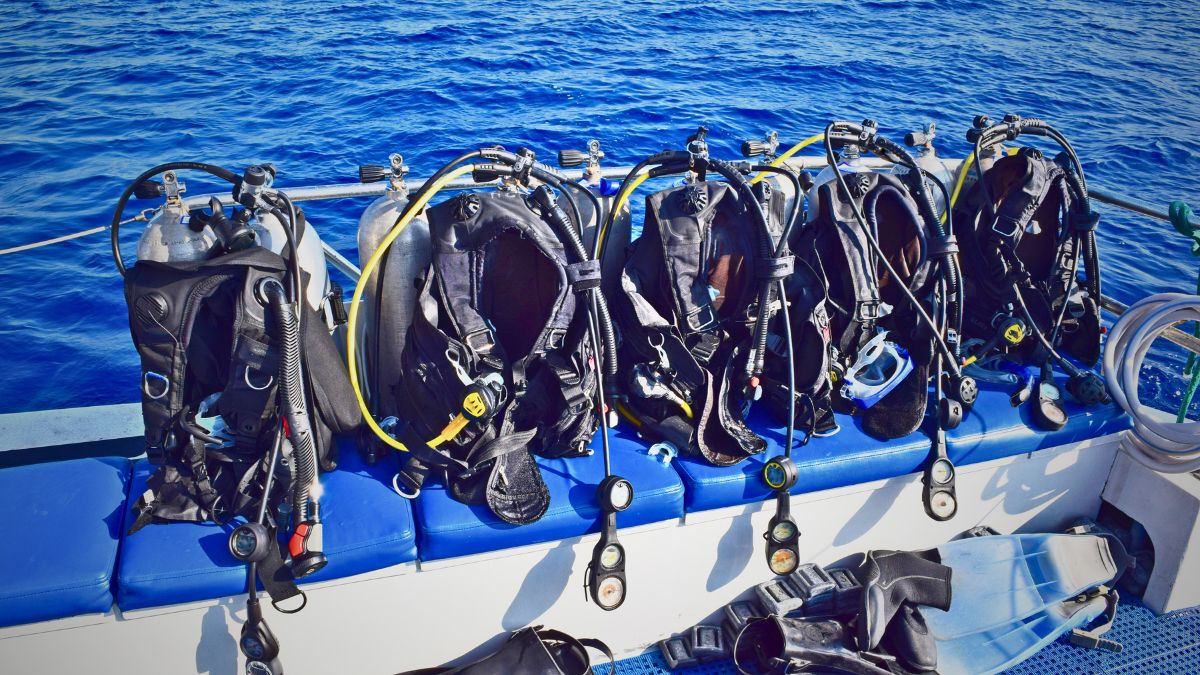
- Inspect all equipment thoroughly before the trip
- Research the dive site conditions and requirements
- Prepare yourself physically and mentally
- Review safety procedures and hand signals
- Pack backup gear and essential spare parts
Now, let’s break down each of these steps so you know exactly how to prepare.
Check Your Diving Certification and Skills Level
Dive According to Your License
One of the most common mistakes I see at our dive center is divers wanting to explore sites that don’t match their certification level. When you hear about an incredible dive spot, you naturally want to experience it. But diving beyond your training level doesn’t just risk your safety, it can ruin the experience for your entire group.
Your certification isn’t just a piece of plastic in your wallet. It represents specific training, depth limits, and environmental conditions you’re qualified to handle. An Open Water diver is typically certified to 18 meters (60 feet), while Advanced Open Water extends that to 30 meters (100 feet). Specialized certifications like Deep Diver, Wreck Diver, or Drift Diver indicate you’ve trained for those specific conditions.
At our dive center in Costa Rica, we have spectacular sites around Isla del Caño. Some are perfect for beginners with calm waters, shallow depths, and easy navigation. Others are strictly for advanced divers due to strong currents, greater depths, or challenging entry points. When divers push beyond their limits, they struggle. They burn through air faster, feel stressed, and miss the beauty around them because they’re too focused on just staying in control.
Match your dive to your training. If a site requires skills you haven’t mastered, either choose a different location or invest in the appropriate specialty course first. The dive will be far more enjoyable when you’re properly prepared.
When You Need Refresher Training
Have you taken a long break from diving? Maybe six months, a year, or even longer? Refresher training isn’t just recommended in these situations, it’s essential for your safety and enjoyment.
I remember a client who returned after three years away from diving. He insisted he remembered everything and didn’t need a refresher. Ten minutes into the dive, he struggled with buoyancy, couldn’t remember how to clear his mask, and burned through his air in twenty minutes. He missed most of the dive dealing with basic skills that had simply gotten rusty.
Refresher training typically takes just one day. You’ll review essential theory, practice equipment assembly, and spend time in confined water relearning fundamental skills like mask clearing, regulator recovery, and buoyancy control. It’s a small time investment that makes a massive difference in your comfort level and dive quality.
Consider a refresher if you haven’t dived in six months or more, if you felt uncomfortable during your last dive, or if you’re planning to dive in more challenging conditions than you’re used to. Your future self, underwater and relaxed instead of stressed, will thank you.
Did you know? Studies show that divers who exceed their certification limits are three times more likely to experience equipment problems or panic underwater, not because the equipment fails, but because they lack the training to handle challenging conditions.
Plan Your Dive in Detail
How to Create a Dive Plan
Creating a proper dive plan might sound tedious when you’re excited to get underwater, but it’s one of the most valuable aspects of scuba diving preparation. A good plan maximizes your time, keeps you safe, and ensures everyone knows what to expect.
Start with site selection. Research your dive location thoroughly. What’s the maximum depth? What’s the typical visibility? Are there currents, and if so, how strong? What marine life can you expect? What are the entry and exit points like? This information shapes everything else in your plan.
Next, determine your dive type. Will this be a relaxed recreational dive? A deeper exploration requiring special attention to nitrogen loading? A drift dive where currents carry you along? Each type requires different scuba diving preparation and equipment considerations.
Think carefully before diving in
Consider the logistics carefully. Check the weather forecast for your dive day. Look at tide tables if diving from shore, as some sites are only diveable at certain tide stages. Plan your dive time based on when conditions are optimal, not just when it’s convenient. Factor in surface intervals if you’re planning multiple dives.
Set your dive limits before you enter the water. Decide on your maximum depth based on your certification, experience, and the specific site. Calculate your no-decompression limits. Determine your minimum air reserve, most divers plan to surface with at least 50 bar (700 psi) remaining. Discuss these limits with your dive buddy so you’re both on the same page.
Finally, communicate the plan clearly. Both you and your buddy should know the intended route, key landmarks to look for, turnaround points, and what to do if you get separated. This isn’t being paranoid. It’s being smart.
Why Your Dive Plan Matters
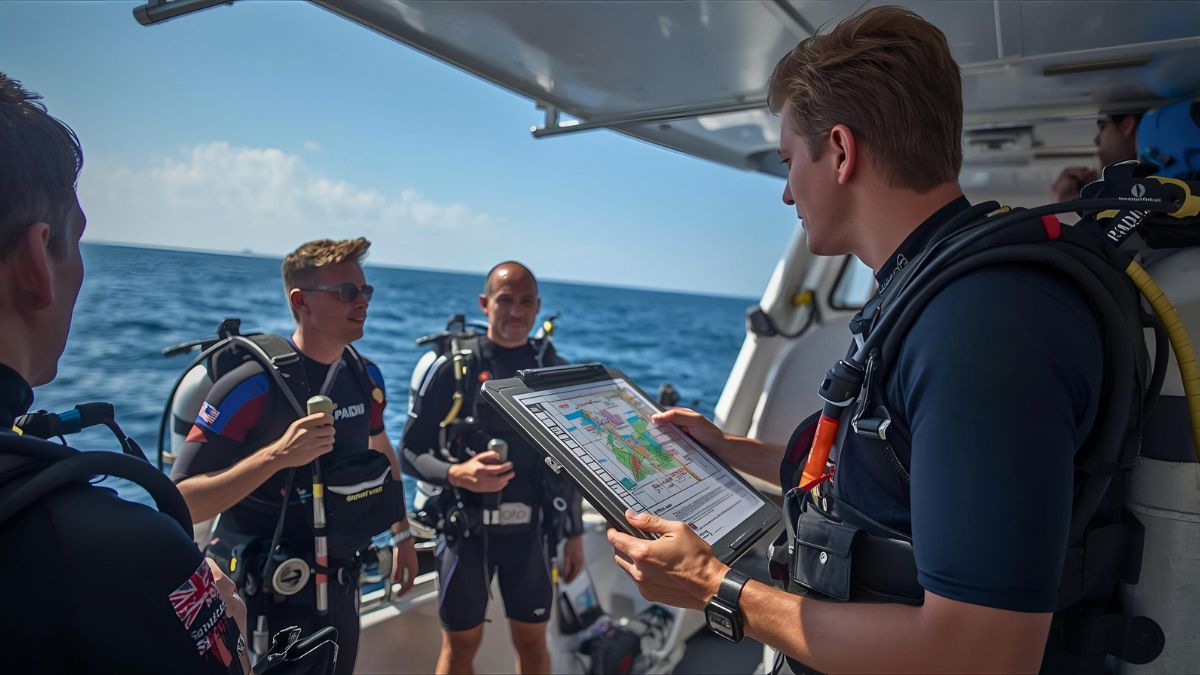
I’ll be honest: I’ve seen countless divers treat the pre-dive briefing as an annoying formality. They nod along while checking their phones, eager to just get in the water. Then underwater, they look confused, swim in the wrong direction, miss the best parts of the dive site, or waste time on poor navigation.
When we lead dive trips, we always take time before the dive for a thorough briefing. We discuss the entire plan: where we’re going, what we’ll see, how long we’ll stay down, and what to do in case of emergency. This isn’t us being overly cautious. It’s us making sure you get the most out of your limited bottom time.
Here’s a real example: At one of our sites near Isla del Caño, if you head north after descending, you’ll swim along a vibrant reef wall teeming with white-tip reef sharks, manta rays, and huge schools of fish. Head south, and you’ll spend most of your dive looking at sand with the occasional small fish. Same starting point, completely different experiences. A proper dive plan ensures you don’t waste precious air swimming in the wrong direction.
Planning doesn’t limit your spontaneity or fun. It creates a framework that lets you relax and enjoy what’s around you instead of constantly wondering where you should go or what you should be doing. Plan the dive, then dive the plan. It’s that simple.
Choose the Right Dive Partner
Selecting the right dive buddy is just as critical as checking your equipment. The wrong partner can turn a dream dive into a stressful experience, while the right one enhances safety and enjoyment for both of you.
I learned this lesson early in my diving career when I agreed to buddy up with someone I’d just met at a dive site. He seemed friendly enough on the surface. Underwater, however, he had terrible buoyancy control, kicked up sediment constantly, and had a habit of wandering off without checking if I was following. It wasn’t dangerous, but it certainly wasn’t fun. Since then, I’ve been much more selective about who I dive with.
Here are the key factors to consider when choosing a dive partner:
Experience and Certification
Look for someone with a similar certification level and experience to yours. If you’re an Advanced Open Water diver comfortable at 30 meters, diving with someone who just earned their Open Water and has only dived to 15 meters creates a mismatch. You’ll either limit yourself to shallower depths or push them beyond their comfort zone. Neither scenario is ideal.
Communication and Compatibility
You need to communicate effectively underwater, which means understanding each other’s hand signals and having compatible diving styles. Some divers love to slowly drift along, stopping to photograph every nudibranch. Others prefer covering more distance to see different terrain. Neither approach is wrong, but they don’t mix well in the same buddy team.
Trust and Reliability
Your dive buddy might need to help you in an emergency. They should be someone who stays calm under pressure, follows established safety protocols, and won’t panic or disappear if something goes wrong. This level of trust usually comes from diving together multiple times, but you can get a sense of someone’s reliability from how seriously they take pre-dive checks and planning.
Skillset and Confidence
Watch how potential dive partners handle their gear, discuss the dive plan, and carry themselves around diving equipment. Someone who demonstrates solid buoyancy control, proper trim, and confidence in their abilities will likely be a good buddy. Someone who seems unsure or sloppy with basic tasks might struggle underwater.
Similar Goals and Interests
If you’re excited to photograph macro subjects but your buddy wants to swim fast and cover maximum distance, you’ll both end up frustrated. Find someone who shares your diving interests, whether that’s underwater photography, marine life spotting, wreck exploration, or just peaceful underwater navigation.
Safety Awareness: Your ideal dive partner should prioritize safety without being paranoid. They check equipment carefully, stick to dive plans, monitor their air supply, and stay aware of their buddy’s location. They follow the rules not because they’re rigid, but because they understand why those rules exist.
If you’re diving with an unfamiliar buddy, spend time on the surface getting to know each other’s experience, comfort levels, and expectations. A ten-minute conversation before the dive can prevent an hour of underwater frustration.
Inspect and Prepare Your Diving Equipment
Here’s a scenario I’ve witnessed too many times: A diver arrives at the boat after driving three hours to reach our dive center. Everyone else is geared up and ready. Then this diver discovers their regulator has a slow leak, their BCD inflator button is stuck, or their mask strap is cracked and barely holding together. Now they’re either sitting out the dive or desperately trying to rent or borrow replacement gear.
The solution? Inspect your equipment thoroughly before you leave home, not when you arrive at the dive site.
Start with your regulator and air supply system. Check all hoses for cracks, bulges, or signs of wear. Ensure connections are tight. Test your first and second stages by taking a few breaths. Check the purge button. Inspect O-rings and replace any that look worn or compressed. If you own your tank, verify it’s within hydrostatic test dates and visually inspected.
Your BCD (Buoyancy Control Device) needs careful attention. Inflate it fully and listen for leaks. Check that the inflator button works smoothly and releases completely. Test the dump valves at different locations. Examine the shoulder straps, waist belt, and crotch strap for fraying or damage. Make sure buckles click securely.
Functional diving gear is your safety
Mask and snorkel condition matters more than you might think. A cracked mask skirt can ruin your dive as water constantly seeps in. Check the silicone for tears or damage. Ensure the strap isn’t worn or brittle. Test that the buckles adjust and hold position. Your snorkel should have a secure keeper and a comfortable mouthpiece.
Inspect your wetsuit or drysuit for tears, especially around high-stress areas like knees, elbows, and seams. A small tear on land becomes a bigger problem underwater. Check zippers for smooth operation. Verify that your exposure protection is appropriate for the water temperature you’ll be diving in.
Your dive computer should have a fresh battery if it’s been a while since you last dived. Verify it’s functioning correctly and set to the right mode. If you use backup gauges, check those too. Your depth gauge should read zero at the surface, and your SPG (Submersible Pressure Gauge) should move freely without sticking.
Don’t forget the small stuff: fins should have intact straps or buckles, weights should be the right amount for your exposure protection and diving conditions, and your dive knife or cutting tool should be sharp and securely mounted.
Fun fact: Murphy’s Law states that anything that can go wrong will go wrong, and at the worst possible time. In diving, we take this seriously. That’s why experienced divers carry spare O-rings, a backup mask, extra straps, and basic tools on every trip.
At our dive center, we inspect every piece of equipment before every trip, even though we checked it the day before. Equipment can fail unexpectedly. A tank valve might develop a tiny leak overnight. An O-ring that looked fine yesterday might be compressed today. We’ve found dozens of small issues this way before they became big problems underwater.
My advice: Always pack backup gear when possible. A spare mask takes up almost no space but saves your dive if your primary mask breaks. Extra fin straps, O-rings, and even a backup dive computer if you have one, these small redundancies mean equipment failure becomes a minor inconvenience instead of a missed dive.
Research Your Dive Site Thoroughly
Even if you’ve dived a location before, conditions change. Water temperature, visibility, currents, and marine life vary by season, weather, and even time of day. Proper site research helps you prepare appropriately and set realistic expectations.
Start by contacting local dive shops in the area. They dive these sites daily and know current conditions better than any website or guidebook. Ask specific questions: What’s the visibility been like this week? Are the currents stronger than usual? Any unusual marine life activity? Are there any temporary hazards like fishing lines or construction?
Understand site-specific challenges before you arrive. Some sites require swimming against moderate currents on the way out but offer an easy ride back. Others have tricky entry points with surge or rocks to navigate. Knowing these details in advance lets you mentally prepare and decide if the site matches your skill level.
Check water temperature and pack appropriate exposure protection. A 2-3 degree temperature difference might not sound significant, but it’s the difference between being comfortable and shivering through your dive. Temperature often drops with depth. If surface temperature is 26°C (79°F), it might be 22°C (72°F) at 20 meters, especially if there’s a thermocline.
Look up recent dive reports if available. Online diving forums, social media groups for the area, and dive center websites often post recent conditions and sighting reports. These give you a realistic picture of what to expect rather than outdated guidebook descriptions.
Review Safety Procedures and Hand Signals
Before every dive, you and your buddy should review basic safety procedures and confirm you’re using the same hand signals. This takes five minutes and can prevent serious problems underwater.
Hand signals vary slightly between regions and diving organizations. What you learned in your certification course might not be exactly what your buddy learned in theirs. Run through the essential signals: OK, not OK, low on air, out of air, ascend, descend, stop, which way, problem (and where), danger, buddy up. If you’re planning anything specific like underwater photography stops or particular marine life you’re looking for, establish signals for those too.
Emergency procedures should be crystal clear before you descend. What’s the plan if you get separated? Most divers follow the “search for one minute, then surface” rule, but confirm this with your buddy. Where will you reunite at the surface? What’s the protocol if someone runs low on air? How will you signal distress to the boat or shore?
Know your ascent procedures thoroughly.
What’s your maximum depth? What’s your no-decompression limit? At what point will you start your ascent? Will you do a safety stop at 5 meters (15 feet) for 3-5 minutes? These aren’t optional considerations. They’re essential safety protocols.
Review emergency equipment locations. Where’s the first aid kit? Where’s the emergency oxygen? Who on the boat or shore is trained in emergency response? On guided dives, know where your guide will be positioned and how they’ll communicate with the group.
This might sound like overkill, especially if you’ve dived many times before. But I’ve seen situations where proper pre-dive safety reviews prevented minor issues from becoming emergencies. Five minutes of review is a small price for significantly improved safety.
How to Prepare for a Dive: Key Takeaways
Proper scuba diving preparation isn’t complicated, but it does require attention and discipline. The divers who consistently have the best experiences are those who take preparation seriously without letting it become stressful.
Check your certification and skills match the dive site. Plan every dive in detail with your buddy. Choose your dive partner carefully based on compatibility and competence. Inspect all equipment thoroughly before you leave home, not at the dive site. Research current conditions and site-specific requirements. Take care of your physical health and mental readiness. Review safety procedures before every descent.
These steps might seem like work when you’re excited to just get underwater. But proper preparation doesn’t take away from the fun of diving. It creates the foundation that allows you to fully relax and enjoy what you’re seeing because you know everything else is handled.
Think of diving preparation like enjoying a fine scotch or a perfectly cooked steak. You don’t rush it, you don’t cut corners, and you don’t do it in the wrong circumstances or with the wrong company. You take the time to do it right, and that attention to detail is what makes the experience truly special.
Frequently Asked Questions
What should I do if I haven’t dived in over a year?
Book a refresher course before planning any dive trips. Most dive centers offer one-day refresher programs that review essential theory and let you practice fundamental skills in controlled conditions. This small time investment dramatically improves your comfort, safety, and enjoyment when you return to open water diving. Don’t skip this step. Rusty skills are the number one reason returning divers have poor experiences.
How far in advance should I plan my dive?
For a local, straightforward dive, a few days notice is usually sufficient to check conditions and make arrangements. For dive trips involving travel, book at least 2-4 weeks in advance to secure spots, especially during high season. Use that planning time to inspect equipment, arrange any necessary training, and research the dive sites you’ll be visiting.
What’s the most commonly forgotten piece of dive equipment?
Surprisingly, it’s often small items: spare O-rings, mask defog solution, surface marker buoys, dive lights (for sites that need them), or even something as basic as a towel. More critically, divers sometimes forget to check that their certification card is current and bring their logbook. Make a checklist and use it every time you pack for a dive trip.
Can I dive if I had alcohol the night before?
If you’re actually hungover (dehydrated, nauseous, headache), absolutely not. Even if you feel okay, alcohol metabolizes slowly, and residual effects can impair judgment and increase decompression sickness risk. The safe rule: no alcohol within 12 hours of diving, and preferably 24 hours before your first dive of a trip. Save the celebrations for after you’ve finished diving for the day.
Do I need to dive with a buddy or can I go solo?
Recreational diving standards require a buddy system for safety: someone who can assist if equipment fails or an emergency occurs. Solo diving is a specialized activity requiring specific training, redundant equipment, and advanced skills. Unless you’re certified for solo diving and properly equipped, always dive with a buddy. Even experienced divers benefit from having someone nearby who can help if something unexpected happens.
Sources and References
This article is based on PADI (Professional Association of Diving Instructors) standards, DAN (Divers Alert Network) safety guidelines, and over a decade of dive guiding experience in Costa Rica waters. For more information on diving safety and training standards, visit:

